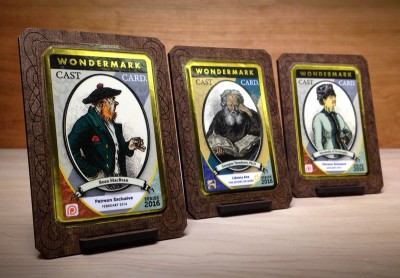
I’ve made some new Wondermark Cast Cards!
These little commemorative plaques are neat mementos of events or moments in Wondermark history.
Folks who’ve gotten the 2016 Wondermark Calendar, or were a part of the Multi-Purpose Cards Kickstarter, have already begun seeding their collection of Wondermark Cast Cards.
And..so have a handful of my top Patreon supporters! I decided I would make a brand new one, and send it to my top supporters for the month of January. A little surprise thank-you, for the folks who’ve contributed over $20 so far.
(They’re all getting the lady in the green dress, at right in the photo above. She’s Mirabelle O’Denneghy, from Wondermark #1056. It looks like her organs haven’t exploded quite yet — bully for her!)
Today, I’m pleased to announce that I’ll be making the Cast Card rewards a monthly tradition — a new way to reward folks who want to support Wondermark and the other things I do.
I’ve added a new tier on Patreon that is the monthly Cast Card subscription.
If you’re not familiar with Patreon, it’s like tossing some change in the tip jar when you get a coffee. Lots of people giving 25¢ or $1 or $2 each month can add up to make a real difference in the life of an artist. It’ll allow me to make more fun stuff, like these cards for instance! Which I think are pretty fun.
So, if you’d like to toss in a few cents or a buck, by all means, please do! I’m grateful beyond words.
BUT, if you would like to go PREMIUM LEVEL, and receive a beautiful handmade item in your hands every single month, now there is this:
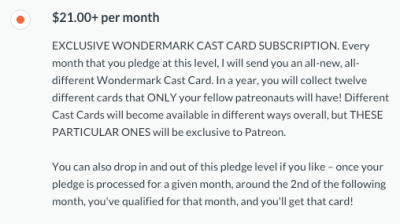
Every single month, I will send my patreonauts at this tier level a brand new monthly Cast Card, which will be exclusive to Patreon.
It’s like the world’s smallest LootCrate! (The shipping cost is included; there’s no extra charge to have one sent to you anywhere in the world.)
To make it fair, I’ll make the official count at the end of each month (when the pledges for that month are processed). So, the time is NOW to jump on board for the inaugural February offering!
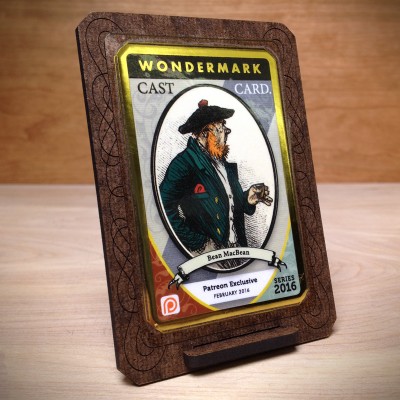
Here’s this February’s card — good ol’ Bean MacBean, from Wondermark episode #1125, the “bean juice” comic! All his vital stats are on the back, of course.
Moving forward, there will be other ways to get other Cast Cards, too.
Most will be included free with various projects, or awarded for various things…In fact, soon I’ll talk about how you may already be a Library Ace. I’ll say only this for now: get your Wondermark books off the shelf, and make sure there’s film in your camera or whatever!
Until then, thanks a million for your support on Patreon, and please don’t delay if you want to claim a copy of the February card!
Wondermark Monthly Cast Card Subscription : Sign up now to get February’s card!